Prepare Your Cottage for the First Frost

Did you know that a single night of sub-zero temperatures can cause thousands of dollars in damage to unprotected outdoor plumbing in a single weekend? In the Parry Sound district, the transition from autumn to winter happens fast—sometimes with only a few days' notice. This guide covers the exact steps you need to take to winterize your cottage, from draining exterior faucets to protecting your dock, so you aren't facing a flooded living room come springtime.
How Do I Winterize My Cottage Plumbing?
The most effective way to winterize your plumbing is to drain all water from the system and blow out the lines with compressed air. If you leave water in the pipes, the expansion of ice will inevitably crack your copper or PEX lines. It's a mess you really don't want to deal with when you return in May.
Start by turning off the main water supply to the cottage. Once that's done, open the lowest faucet in the house to let gravity help the drainage process. If you have an irrigation system for your garden, make sure to disconnect the hoses from the outdoor spigots immediately. Leaving a hose attached is a classic mistake—it traps water in the pipe, and that's where the trouble starts.
For those with more permanent setups, I've found that using a shop vac or a small air compressor to blow out the lines works wonders. You want to ensure every single drop is out of the system. If you have a well system, you'll need to be even more diligent about the pressure tank and the pump house.
- Step 1: Shut off the main water valve.
- Step 2: Open all faucets (hot and cold) to drain the lines.
- Step 3: Use a shop vac to suck out any remaining water from low points.
- Step 4: Disconnect all garden hoses and store them in the garage.
- Step 5: Install insulated foam covers over your outdoor spigots.
If you have an indoor water feature or a large aquarium, move it indoors or ensure it is completely drained and covered. A single freeze can kill your fish or crack a glass tank in hours. It's a heavy lift, but it's much easier than replacing a custom stone fountain.
How Do I Protect My Dock and Boat?
Protecting your dock involves lifting it out of the water or securing it tightly against the ice to prevent structural damage. In the Parry Sound area, the freeze-thaw cycle can be brutal on wooden structures and metal moorings.
If you have a floating dock, you'll likely need to pull it out of the water and store it on land or in a shallower area where the ice won't crush it. If you have a fixed dock, ensure all loose boards or accessories are removed. The goal is to minimize the "sail area" that wind and moving ice can catch.
For your boat, the process is a bit more involved. You shouldn't just leave it in the water and hope for the best. I recommend a few key steps:
- Drain the motor: If you have an outboard motor, ensure the water strainer is drained to prevent internal freezing.
- Remove the battery: Take the battery out of the boat and store it in a cool, dry place inside your garage or shed.
- Cover it well: Use a high-quality, breathable cover—something like a Patagonia gear bag or a heavy-duty marine tarp—to keep moisture and snow out of the cockpit.
- Check the bilge: Ensure the bilge pump is disconnected or that the area is completely dry so you don't have a frozen block of ice in your boat by January.
The ice in the Georgian Bay area can be incredibly thick and unpredictable. If you aren't pulling your boat out of the water, at least ensure it's positioned in a way that it won't be crushed by shifting ice sheets. It's a bit of a gamble, but a good cover goes a long way.
What Supplies Do I Need for Winterization?
You should stock up on specialized antifreeze, heavy-duty tarps, and insulated covers before the first frost hits. Most of these items can be found at local hardware stores, but it's better to have them on hand before the crowds arrive.
Don't settle for cheap, thin plastic sheets. You want heavy-duty materials that can withstand the weight of heavy Ontario snow. I've seen many people try to use cheap painters' plastic to cover furniture, only to have it shredded by the first big windstorm. It's a waste of money in the long run.
| Item | Purpose | Priority |
|---|---|---|
| Non-toxic Antifreeze | Drains plumbing/toilet bowls | High |
| Insulated Spigot Covers | Protects outdoor faucets | High |
| Heavy-Duty Tarp | Protects furniture/equipment | Medium |
| Dehumidifier | Prevates mold inside the cottage | High |
One thing people often forget is the dehumidifier. If you're leaving the cottage unheated, you'll still want a way to manage moisture. Running a dehumidifier on a timer (or a smart plug) can prevent that "musty cottage smell" that often greets us in the spring. However, make sure you have a way to empty the water—otherwise, you'll just be making a puddle on your floor. For more info on maintaining a dry environment, check out the Wikipedia page on dehumidifiers to understand how they work.
It's also worth noting that if you're using a generator for backup power, make sure you drain the fuel or add a fuel stabilizer. There's nothing worse than trying to start a generator in a January blizzard only to find the fuel has turned to sludge.
How Do I Prepare My Outdoor Furniture?
Store all outdoor furniture in a shed or garage, or cover it with a heavy-duty, waterproof cover. If you must leave it outside, ensure it is stored in a way that prevents water from pooling on the seats, which can lead to rot and mildew.
I've noticed many people leave their high-end Adirondack chairs out all year. While wood is tough, the metal hardware and cushions are not. Even if you have a "weatherproof" cushion, the Canadian winter is a different beast. The frost can penetrate even the thickest foam.
If you're using a cover, make sure it isn't a tight fit. You want air to circulate slightly so moisture doesn't get trapped underneath. A tight, non-breathable plastic sheet can actually cause more damage by trapping condensation against the furniture.
If you're planning on spending some time outdoors this late in the season, make sure you have the right gear to stay warm. If you're out exploring the local trails or looking at the fall colors, you might want to check out my guide on how to keep your gear dry during rainy weekend walks to ensure you stay comfortable while the weather turns.
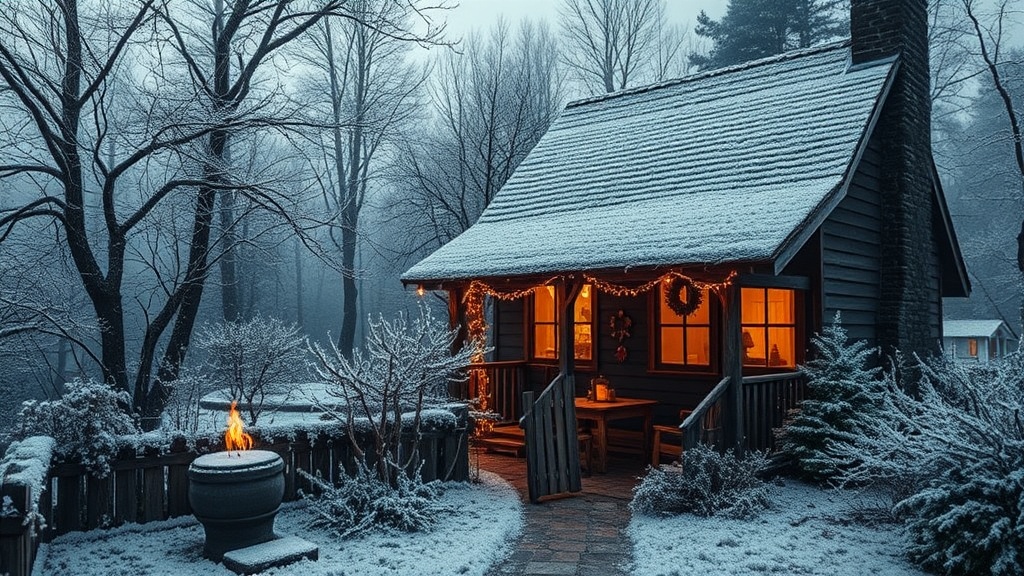
Lastly, don't forget the fire pit. If you have a metal fire pit, it's a good idea to clean out the ash and any leftover debris. Ash can hold moisture, and if it freezes, it becomes a heavy, sludge-like mess that's a pain to clean out next year. If you have a stone fire pit, just ensure it's clear of any flammable materials that could be damaged by ice expansion.
The goal is to make your spring return as seamless as possible. A little bit of work now means you won't be spending your first weekend back in May fixing leaks and cleaning up mold. It's all about being proactive.
Steps
- 1
Drain Exterior Hoses and Faucets
- 2
Protect Outdoor Furniture and Equipment
- 3
Inspect Roof and Gutters for Debris
- 4
Set Thermostat to Energy Saving Mode